
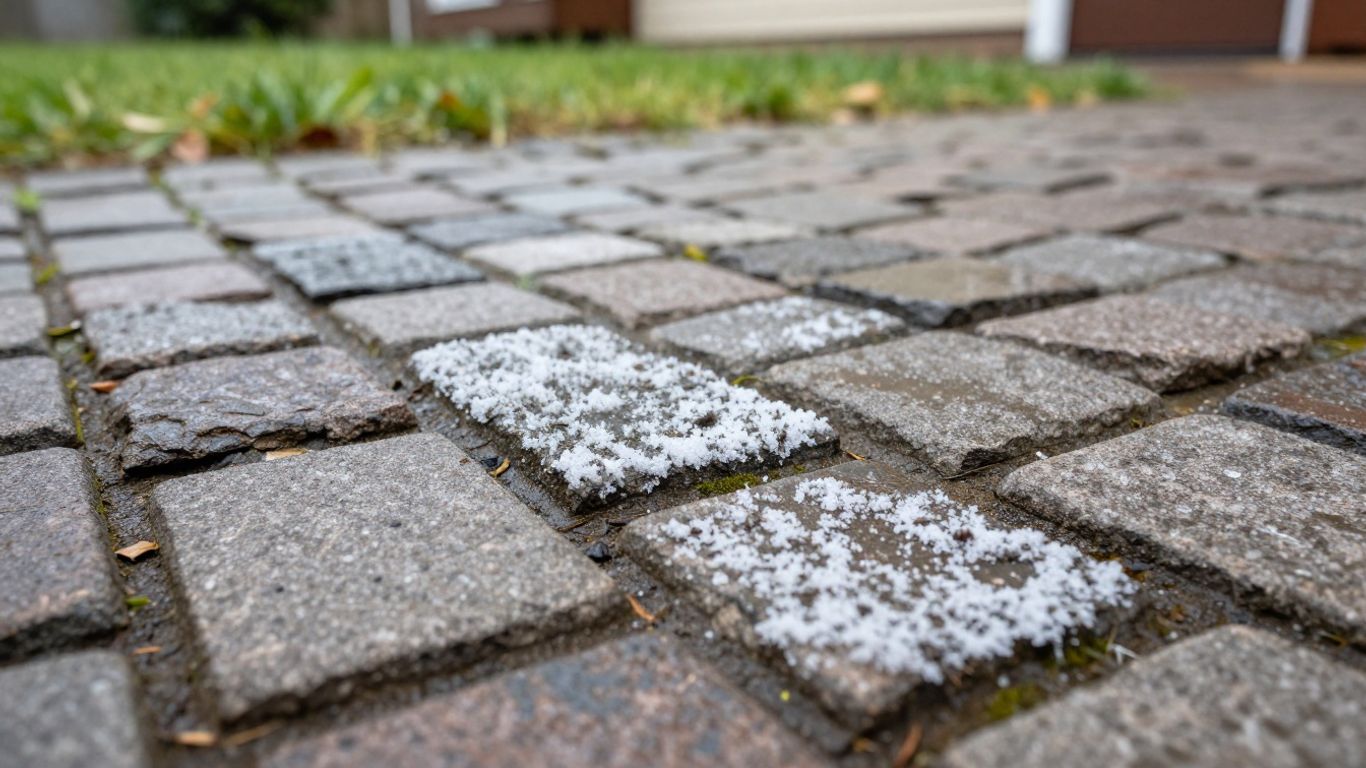
Proper interlocking paving stones maintenance starts with understanding what Canadian weather actually does to your hardscape. Our winters are cold, our summers can be hot, and spring and fall bring their own challenges. All this can really take a toll on your outdoor spaces, especially your interlocking paving stones. Whether it’s your driveway, patio, or walkway, these surfaces work hard for us. But with the right care, especially through our tough Canadian seasons, you can keep your pavers looking great and lasting for years. Let’s talk about how to do just that.
Key Takeaways
- Canadian weather, with its freeze-thaw cycles and use of de-icers, puts a lot of stress on your interlock, potentially causing shifting, sinking, and hidden damage.
- Spring is the prime time to inspect your paved surface for any damage or low joint sand after the winter, and to clean off any winter grime.
- Summer is for deep cleaning, weed control, and applying sealants to protect your hardscape from the elements and prevent moss growth.
- In fall, prepare your interlock for winter by topping up joint sand, removing heavy items, and avoiding harsh de-icers.
- Winter snow removal requires care; use sand for traction instead of salt, and be mindful of raised paver surfaces to avoid scratches.
Not sure if your interlock needs repair or replacement? Explore our interlock services to find out how we can help.
Why Canadian Weather Is Especially Hard on Interlocking Stones
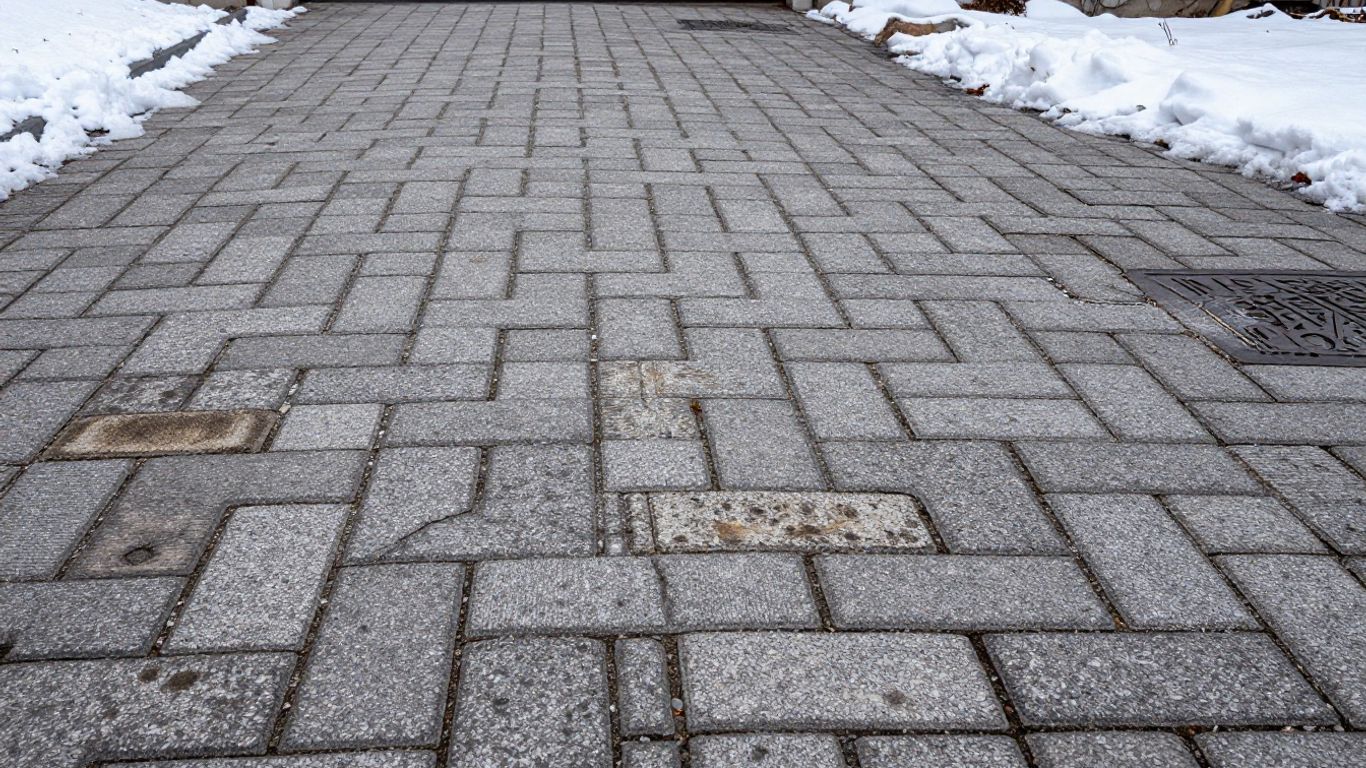
Living in Canada means dealing with some pretty wild weather swings, and our interlocking stone driveways and patios really take a beating because of it. It’s not just about the snow and ice; it’s the constant back-and-forth between freezing and thawing that causes the most trouble.
How Freeze-Thaw Cycles Cause Shifting and Sinking
This is probably the biggest culprit when it comes to damaged interlock. Here’s how it works: during the colder months, any moisture that seeps into the tiny cracks between your pavers freezes. When water freezes, it expands, right? This expansion puts pressure on the stones, pushing them apart or causing them to lift slightly. Then, when the temperature warms up, that ice melts, and the water can seep even deeper. This cycle repeats itself over and over. Over time, this constant pushing and pulling can lead to pavers shifting out of place, sinking, or even cracking. It makes your driveway or patio look uneven and can become a tripping hazard. Proper grading is super important to help water drain away, preventing it from pooling and freezing in the first place. You can often spot issues if you notice water pooling after rain. To understand exactly how frost affects your stonework, read our deep-dive on frost heave and interlock damage.
The Hidden Damage Caused by Road Salt and De-Icers
We all reach for salt or de-icing chemicals when things get icy, but these products can be surprisingly harsh on interlocking stones. Regular rock salt, for instance, can actually wear away the surface of the pavers over time. This leads to pitting, fading, and a general weakening of the stone. It’s like a slow erosion that you might not notice day-to-day, but it adds up. Plus, some of these chemicals can be tough on the environment and even our pets’ paws. It’s better to use products specifically designed for pavers or opt for sand for traction when possible. Using the wrong de-icing methods can really shorten the lifespan of your interlock.
Your Season-by-Season Maintenance Checklist for Interlocking Pavers
Taking care of your interlock throughout the year is key to keeping them looking great and lasting for ages, especially with our Canadian climate. It’s not just about the big fixes; a little regular attention goes a long way.
Spring: The Most Important Season for Inspection
Once the snow melts and things start to dry out, it’s time for a good look-see. This is when you can really spot any issues that popped up over the winter. Check for any pavers that have shifted, sunk, or cracked. Also, take a peek at the joints between the stones. Is the sand still there, or has it washed out? Low joint sand is an invitation for weeds and can lead to more shifting. You might also notice a white powdery residue on the stones – that’s efflorescence, and while it looks a bit odd, it’s usually harmless and can be cleaned off. This is also a good time to clear away any leftover leaves or debris that might have gotten trapped. While you’re at it, don’t forget your lawn – our spring lawn recovery checklist covers everything else your yard needs after winter.
Summer: Cleaning, Sealing, and Weed Control
Summer is the prime time for deeper cleaning and protection. If you’ve got any moss, lichen, or stubborn weeds growing, tackle them now. You can use specific cleaners for this. After cleaning, a good power wash can really make your paved surface shine. Once they’re dry, consider applying a sealant. If you have a driveway, check out our guide on driveway sealing for product and timing tips specific to our climate specific to Canadian conditions. Sealing every couple of years helps protect the stones from water penetration and keeps the polymeric sand in the joints from washing away. This step is super important for preventing future problems. Keep an eye out for grass clippings and other yard waste, and sweep them up regularly to avoid stains.
Fall: Preparing Interlocking Paving Stones for Winter
As the leaves start to fall, it’s time to get your pavers ready for the cold. Make sure the joints are topped up with polymeric sand. This helps lock the stones in place and prevents water from getting underneath, which can cause problems during freeze-thaw cycles. It’s also a good idea to clear off any heavy items like patio furniture or planters. Letting the entire surface move uniformly, if it needs to, can reduce stress on individual stones. A good sweep to remove all fallen leaves is also a smart move.
Winter: Safe Snow Removal Without Damaging Your Pavers
Winter brings its own set of challenges. When it comes to snow removal, avoid using harsh de-icing chemicals like rock salt, as these can damage the stones and the surrounding environment over time. Instead, opt for sand for traction on icy spots. If you use a snowblower or plow, be careful not to scrape too close to the surface of the pavers, especially if they have a slightly raised edge. The goal is to clear the snow without gouging or chipping your interlock. Keeping up with routine maintenance can make winter snow removal much easier.
5 Signs Your Interlock Needs Professional Attention
Even with the best care, sometimes your interlocking stones just can’t handle the Canadian climate on their own. It’s not always obvious when a problem is serious enough to call in the pros, but there are definitely some red flags to watch out for. Ignoring these signs can lead to bigger, more expensive repairs down the road.
Here are a few things that should make you pick up the phone:
- Significant Shifting or Sinking: If you notice large sections of your pavers have sunk noticeably, or if pavers are significantly out of alignment, it’s more than just a minor cosmetic issue. This often points to problems with the base layer underneath, which can be caused by poor initial installation or erosion from freeze-thaw cycles. Trying to just push them back into place usually won’t fix the underlying problem.
- Widespread Cracking or Chipping: While a single cracked paver might be a DIY fix, if you’re seeing cracks or chips appearing across a large area of your paved surface, it suggests a more systemic issue. This could be due to the type of paver not being suited for our climate, excessive salt use, or a compromised base.
- Persistent Drainage Problems: If water consistently pools on your interlocking stone surface after rain or snowmelt and doesn’t drain away properly, it’s a serious concern. Poor drainage can lead to paver instability, freeze-thaw damage, and even damage to your home’s foundation. This often indicates a grading issue that needs professional assessment.
- Extensive Weed or Moss Growth: While a few weeds popping up are normal, if you have thick, persistent growth of weeds, moss, or algae taking over the joints and surface of your paved area, it might mean the polymeric sand is failing or has washed out. This compromises the stability of the entire system.
- Visible Base Material or Erosion: If you can see the gravel or sand base material between or around your pavers, or if there are signs of significant erosion, it means your pavers are no longer doing their job of protecting the base. This is a clear indicator that the structural integrity is compromised.
When you see these kinds of issues developing, it’s usually a sign that the problem goes deeper than just a few loose stones. It often relates back to the foundation of the installation itself, something that requires specialized knowledge and equipment to fix properly. Trying to patch up these larger problems yourself might just be a temporary band-aid.
Don’t wait until a small issue becomes a major headache. If your interlock is showing these signs, it’s time to consider getting expert advice. A professional can properly diagnose the problem and provide a lasting solution, saving you time and money in the long run. For issues like widespread sinking or drainage problems, consulting with a local interlock contractor is often the best course of action. View our work in the gallery to see the standard of repairs we deliver.
DIY Fixes vs. When to Call an Interlock Contractor in Canada
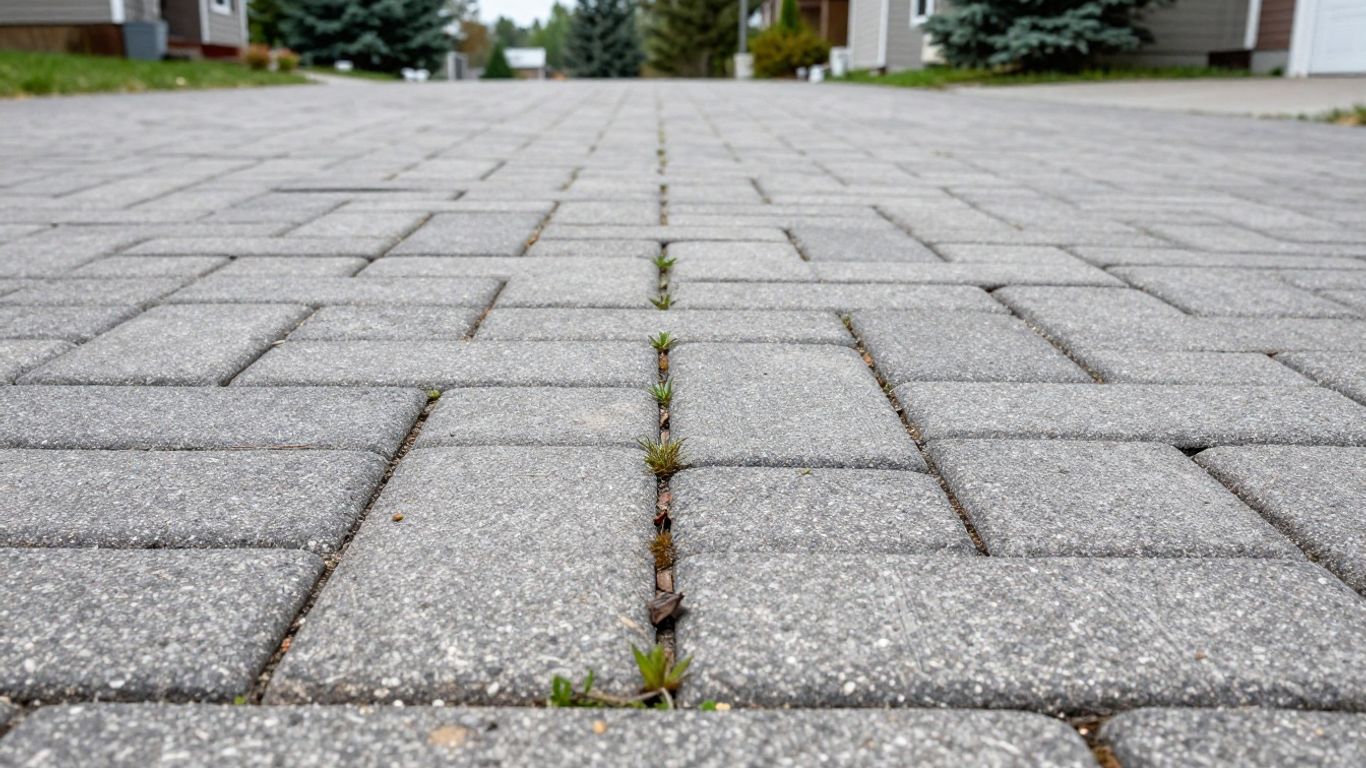
So, you’ve got some issues with your interlock, huh? It happens. Between the freeze-thaw cycles and whatever else Canadian weather throws at them, things can get a bit wonky. The good news is, not every little crack or dip means you need to call in the cavalry. Some fixes are totally doable yourself, saving you a bit of cash and giving you that “I fixed it myself” satisfaction. But then there are those times when you really should just hand it over to the pros.
Small Repairs You Can Handle Yourself
For minor issues, you can often roll up your sleeves and get to work. Think of it like patching up a small hole in your drywall – it’s manageable. Here are a few common things you can probably tackle:
- Replacing a cracked or chipped paver: If one or two pavers look like they’ve had a rough go, you can usually swap them out. You’ll need to carefully dig out the old one, clean the space, and pop in a new paver. Make sure you have some spare pavers from the original installation, or at least ones that match the colour and size.
- Topping up joint sand: Over time, the sand between your pavers can wash away, and for clay soil properties, the base and pattern used at installation also affects how quickly this happens. See our guide on interlock patterns for clay soil backyards. You can buy polymeric sand (it hardens when wet) and sweep it into the gaps. It’s a bit of a messy job, but totally doable.
- Dealing with minor weeds: Those little green invaders popping up between stones? You can usually pull them out by hand or use a weed killer specifically designed for pavers. Just be careful with harsh chemicals, especially if you have pets or kids.
It’s always a good idea to have a few extra pavers and a bag of joint sand on hand. Think of it as a small insurance policy for your driveway or patio. A little bit of preventative maintenance can go a long way in stopping small problems from becoming big headaches.
When the Damage Requires a Professional
Now, when do you know it’s time to put down the shovel and pick up the phone? If the problem looks like it’s affecting the whole structure or is just too big for a quick fix, it’s probably time to call in the experts. Trying to fix these yourself can sometimes make things worse, and nobody wants that.
- Significant sinking or shifting: If a large section of your interlock is sinking, heaving, or looks like a roller coaster, it’s a sign of a bigger problem underneath. This usually means the base material has failed, and that requires proper excavation and re-compaction. This is definitely a job for experienced professionals who know how to build a solid foundation.
- Widespread cracking or paver damage: If you’re seeing cracks and damage on a lot of your pavers, not just one or two, it might be time for a more extensive repair or even a partial replacement. This could be due to poor installation, the wrong type of pavers for the climate, or just years of heavy wear.
- Drainage issues: If water is pooling on your interlock and not draining away properly, it’s a serious problem. Poor drainage can lead to freeze-thaw damage, shifting, and even damage to your home’s foundation. Fixing drainage often involves re-grading the area and ensuring the base is set up correctly, which is a complex job.
The team at Bennett Lawn & Landscape has the tools and experience to properly diagnose and restore your interlock – from base failure to full paver replacement.
Ready to get your interlock assessed? Call us at (613) 795-2017 or request a free consultation, we serve Ottawa, Barrhaven, Kanata, Nepean, and surrounding areas.
How to Choose the Right Interlocking Pavers for Canada’s Climate
When you’re looking at options for your driveway or patio, especially here where the weather can be pretty wild, picking the right pavers is a big deal. You want something that looks good, sure, but more importantly, you need it to stand up to our harsh winters and hot summers without falling apart. Durability and resistance to freeze-thaw cycles are your top priorities.
If you’re starting from scratch and need professional installation, our hardscape services in Ottawa cover full design and build.. They come in tons of colours and shapes, so you can get creative. Natural stone, like granite or limestone, offers a more premium look and is also very tough. Clay brick pavers give a classic, warm feel. If drainage is a concern, permeable pavers are worth a look; they let water soak through, which can help prevent ice buildup.
Here are some things to keep in mind:
- Climate Resistance: Look for pavers specifically rated for freeze-thaw cycles. This is non-negotiable for Canadian weather.
- Traffic Load: If it’s a driveway, you need pavers that can handle the weight of vehicles. Thicker, denser pavers are usually best.
- Drainage: Proper water management is key. Consider how water will flow away from your paved area.
- Aesthetics: Choose colours and patterns that complement your home’s style. Think about how they’ll look with your siding and landscaping in Ottawa.
Not sure which paver style suits your space? Read about the benefits of installing backyard interlock before making a decision. It’s about making a smart investment for your property’s longevity.
For driveways, you’ll want to focus on pavers that are built to last. Check our price guide for an overview of what contributes to interlock project costs iin our area. Individual pavers can be replaced if one gets damaged, which is a huge plus compared to other paving methods. This makes driveway pavers a durable and practical choice for our climate.
When you’re browsing, don’t be afraid to ask about the paver’s specifications, especially regarding their strength and how they perform in cold weather. Getting this right from the start means less worry about repairs later on.
Keeping Your Pavers Looking Good
So, keeping your interlocking pavers looking sharp through all the Canadian seasons really just comes down to a bit of regular attention. It’s not rocket science, but doing a few things each year, like cleaning them up in the spring and getting them ready for winter, makes a big difference. Think of it like giving your driveway a little spa treatment. A good sealing every couple of years helps a lot too, keeping water out and stopping weeds from taking over. Honestly, with a little effort, your interlocking paving stones will stay looking great for ages, no matter what the weather throws at them. When the damage goes beyond DIY, Bennett Lawn & Landscape is Ottawa‘s trusted interlock contractor. Contact us today or call (613) 795-2017 to get a quote.
Frequently Asked Questions
Why do my pavers move or sink after winter?
This usually happens because of the freeze-thaw cycle. When water gets into the small gaps between stones, it freezes and expands, pushing the stones apart. When it thaws, the ground settles, and the stones can sink or become uneven. Proper installation with a good base and regular maintenance, like topping up the joint sand, helps prevent this.
Is it okay to use salt to melt ice on my pavers?
It’s best to avoid using regular salt (sodium chloride) or harsh de-icers. These chemicals can damage the surface of the stones over time, making them look worn and weak. They can also harm nearby plants. Using sand for traction is a safer option, or look for pet-safe and paver-friendly de-icing products.
How often should I seal my pavers?
Sealing your pavers every two years is a good idea. It creates a protective shield that stops water from soaking in, which helps prevent weed growth and keeps the stones stable. It also protects the sand between the stones, keeping everything locked together nicely.
What’s that white powdery stuff on my pavers?
That white powder is called efflorescence. It’s a natural salt that comes out of the concrete pavers as they dry. It’s usually harmless and often goes away on its own. If it bothers you, you can clean it off with a special cleaner made for pavers, but make sure to rinse it thoroughly afterwards.
How can I stop weeds from growing between my pavers?
The best way to stop weeds is to make sure the gaps between your pavers are always filled with joint sand. When the sand is deep enough, it makes it hard for weeds to sprout. If you already have weeds, you can treat them with a weed killer, then sweep fresh sand into the joints after cleaning.
What’s the best way to clean my patio pavers in the spring?
In the spring, start by sweeping away any loose dirt and debris. Then, give your pavers a good wash, maybe with a power washer on a gentle setting. If you see any moss or stubborn stains, treat those first before a final rinse. If you’re also refreshing your walkways or pathways this spring, our guide on stone walkway design ideas is worth a read.